
Showing posts with label Narrative. Show all posts
Showing posts with label Narrative. Show all posts
Wednesday, 10 December 2014

Tuesday, 18 November 2014
Narrative: Main Prop Positions and Skinned

After some thinking of how to make the jobs easier for ourselves we decided that we could put the Main Prop in different positions using only skinning. We never see the Prop move in shot therefore a rig isn't necessarily needed, with composting we can work around this effectively.
Friday, 14 November 2014
Narrative:Previz Edits
Tuesday, 11 November 2014
Narrative: Workshop Interior (UV Mapped)
Each of us have contributed to modelling our workshop interior and not, we've laid out the UVs which are now ready for texturing.

Narrative: Initial Previz
Narrative: Character Textured (With Bump Map)
We have decided to add bump mapping model as previously discussed because if we don't, the texture looks too flat.


Friday, 7 November 2014
Narrative: Character Textured
After the character's UV have been laid out, Rosalyn went ahead to paint the textures for our character. This is the progress.


It looks a bit flat now because we have yet to do any bump or displacement maps for it.
Thursday, 6 November 2014
Narrative: Environment Modelling (Clock)
From our initial environment block out, Scott has gone into modelling the clock for our environment.


Narrative: Environment Modelling (Shelves)
From our initial environment block out, Scott has gone into modelling the shelves for our environment.




Narrative: Environment Modelling (Table)
From our initial environment block out, Scott has gone into modelling the table for our environment.


Tuesday, 4 November 2014


Monday, 3 November 2014


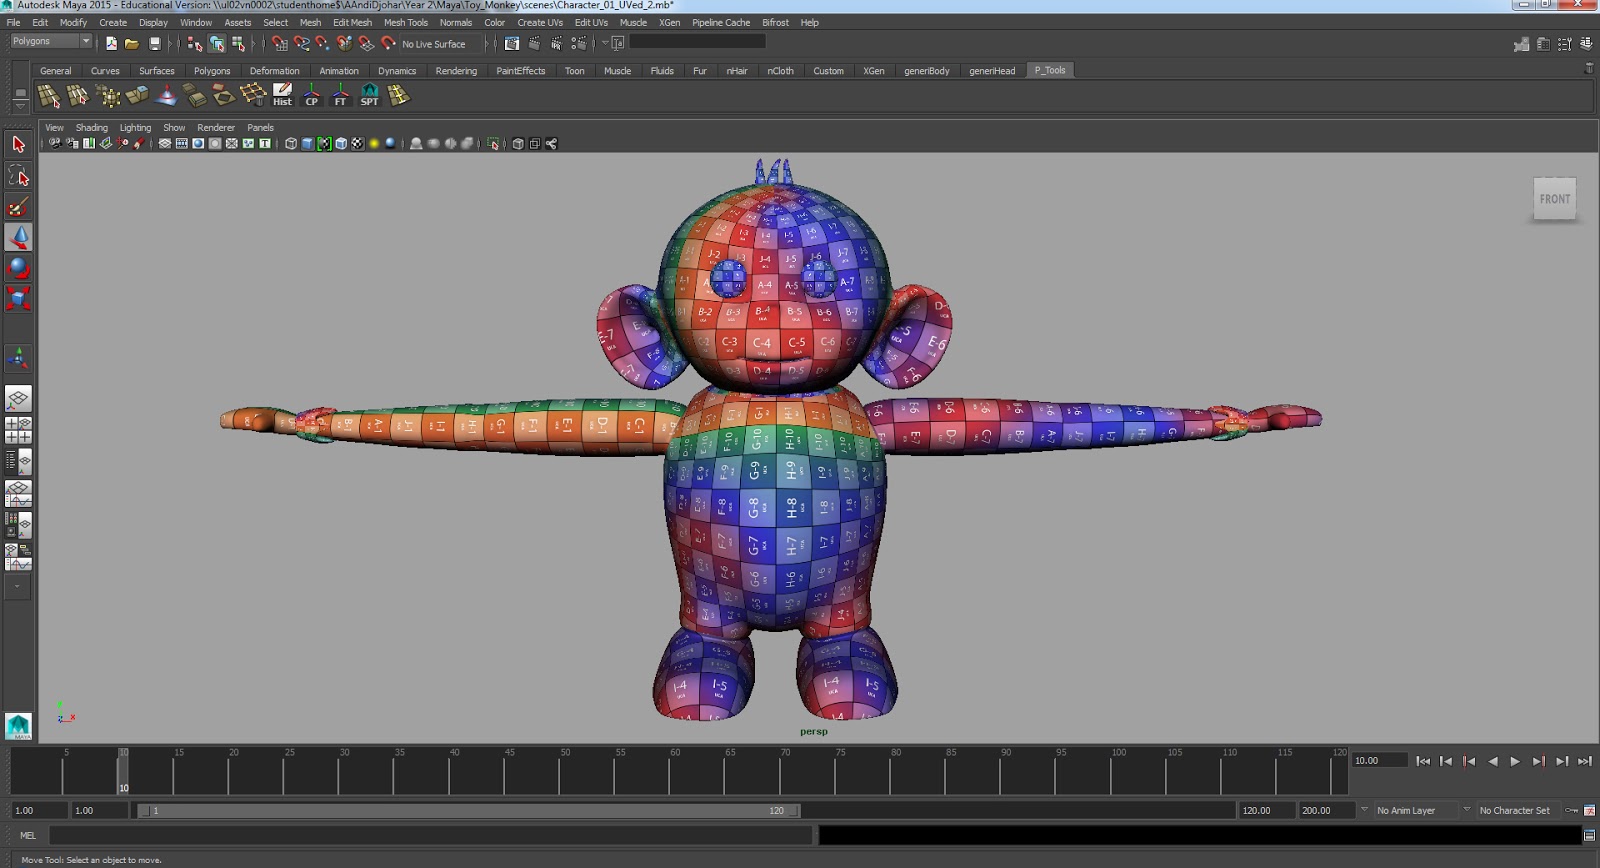
Narrative: Character UV Texturing (Arms)
This is the arms done after UV Mapping.


@Alan, I am not sure what I did wrong but my edges does not match and even I were to flip the UV Set of the hands to match it, it still doesn't work.

Narrative: Character UV Texturing (Head, Throat, Body)
To UV Map the character, Ayunie have made the decision to split the character into several parts (Head, Arms, Feet and Tail) so that it will be easier to UV Map and it will be the same way as those in the character tutorials.
Head UV Mapped:


Head UV Mapped:
Throat UV Mapped
Body UV Mapped:
Subscribe to:
Posts (Atom)